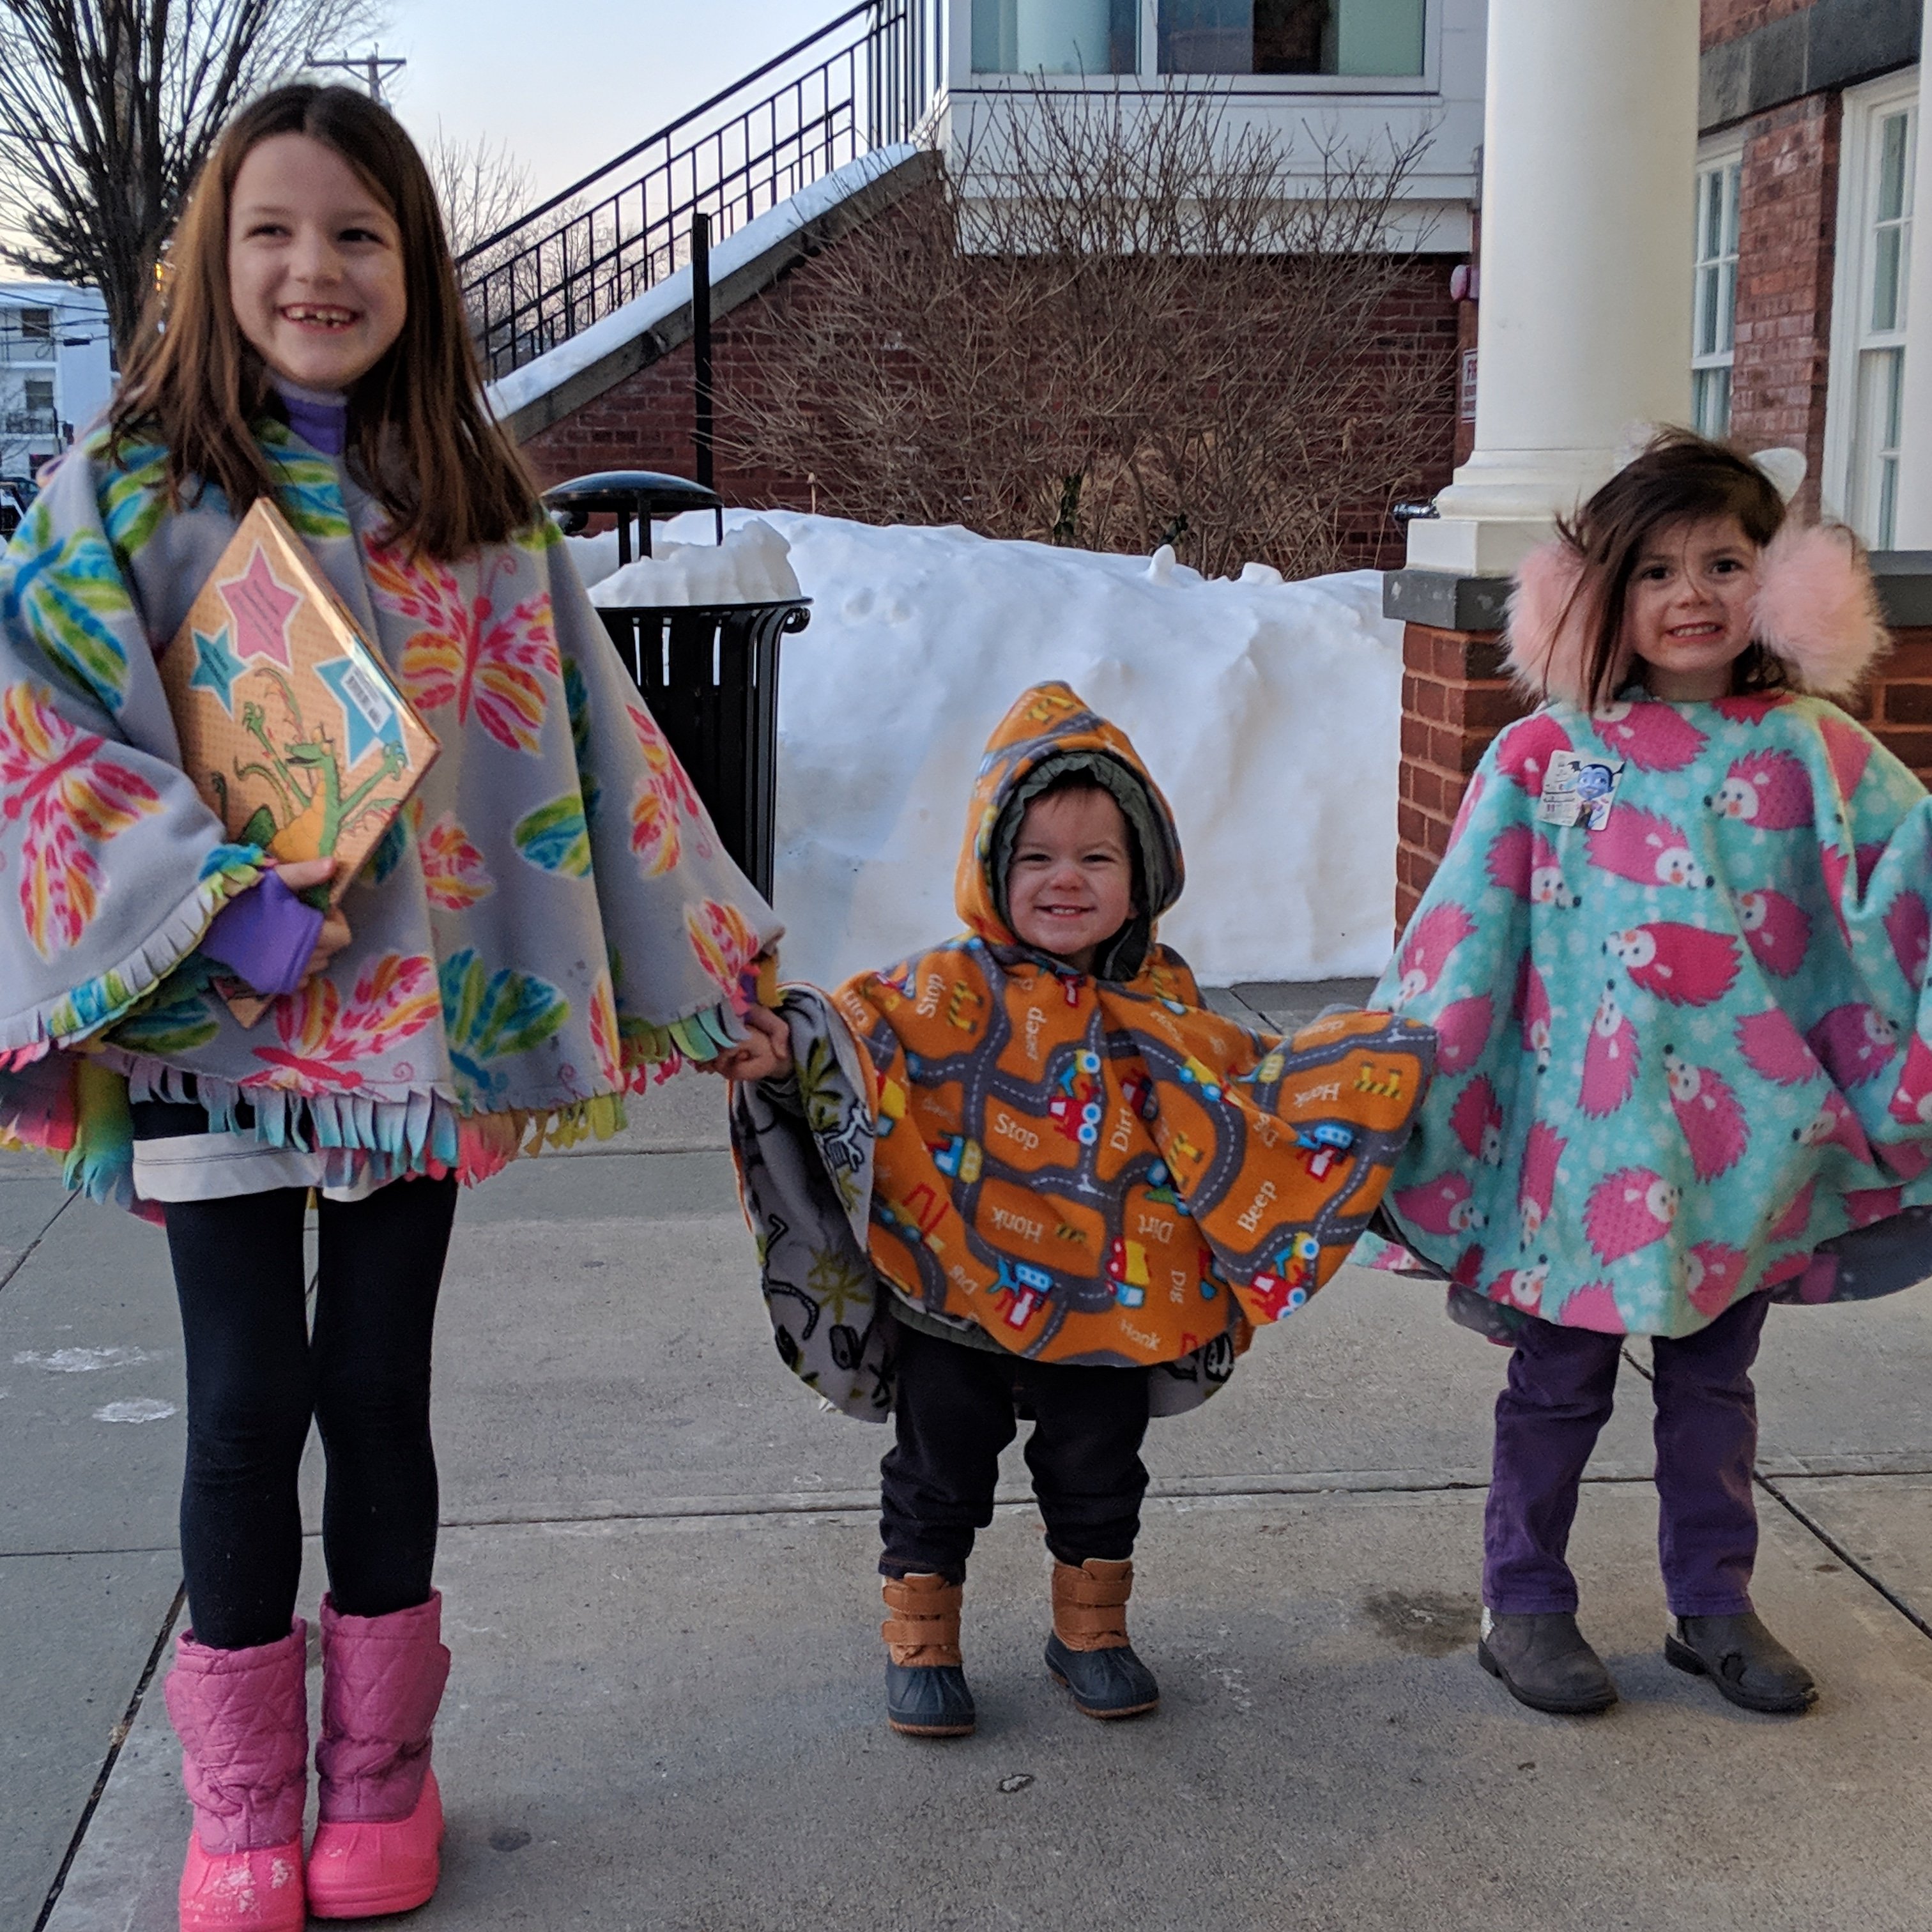
I am so happy I finally made these, I've been wanting to ever since I found out the whole safety issue of using puffy winter jackets in carseats! It is so much work getting the jackets on and off in the winter months when getting my kids in and out of the car, so finally, I gave in and made them ponchos!
I literally get compliments on them everywhere I go, and tons of questions on how to make them.... so for all you curious minds.... a reversible poncho tutorial! Hopefully this is clear! Probably my first big "how to" project since my "How to Build an Ice-cream Snowman" presentation in sixth grade!
![]()
______________________________________________________________________________________
First you need to measure out your fabric. I bought about a 1.5 yards of each color when making for the girls. For the one below, I used two blankets about 48" wide and long. This was JUST big enough for the project, as the corners that I cut off were just barely large enough for the hood. So cut carefully!
For my two girls (3 and 5.5) i used a diameter of 36" and 48". I wish i made my 3yos a bit larger, but this is not a bad size for 1-3yo.
To measure, fold your fabric in half, then in half again. measure from the folded corner and mark in a quarter circle your desired length/2. For this poncho, I measured out 24". 
Cut out along your markings, be sure you don't cut the main corner, or you will end up with multiple pieces!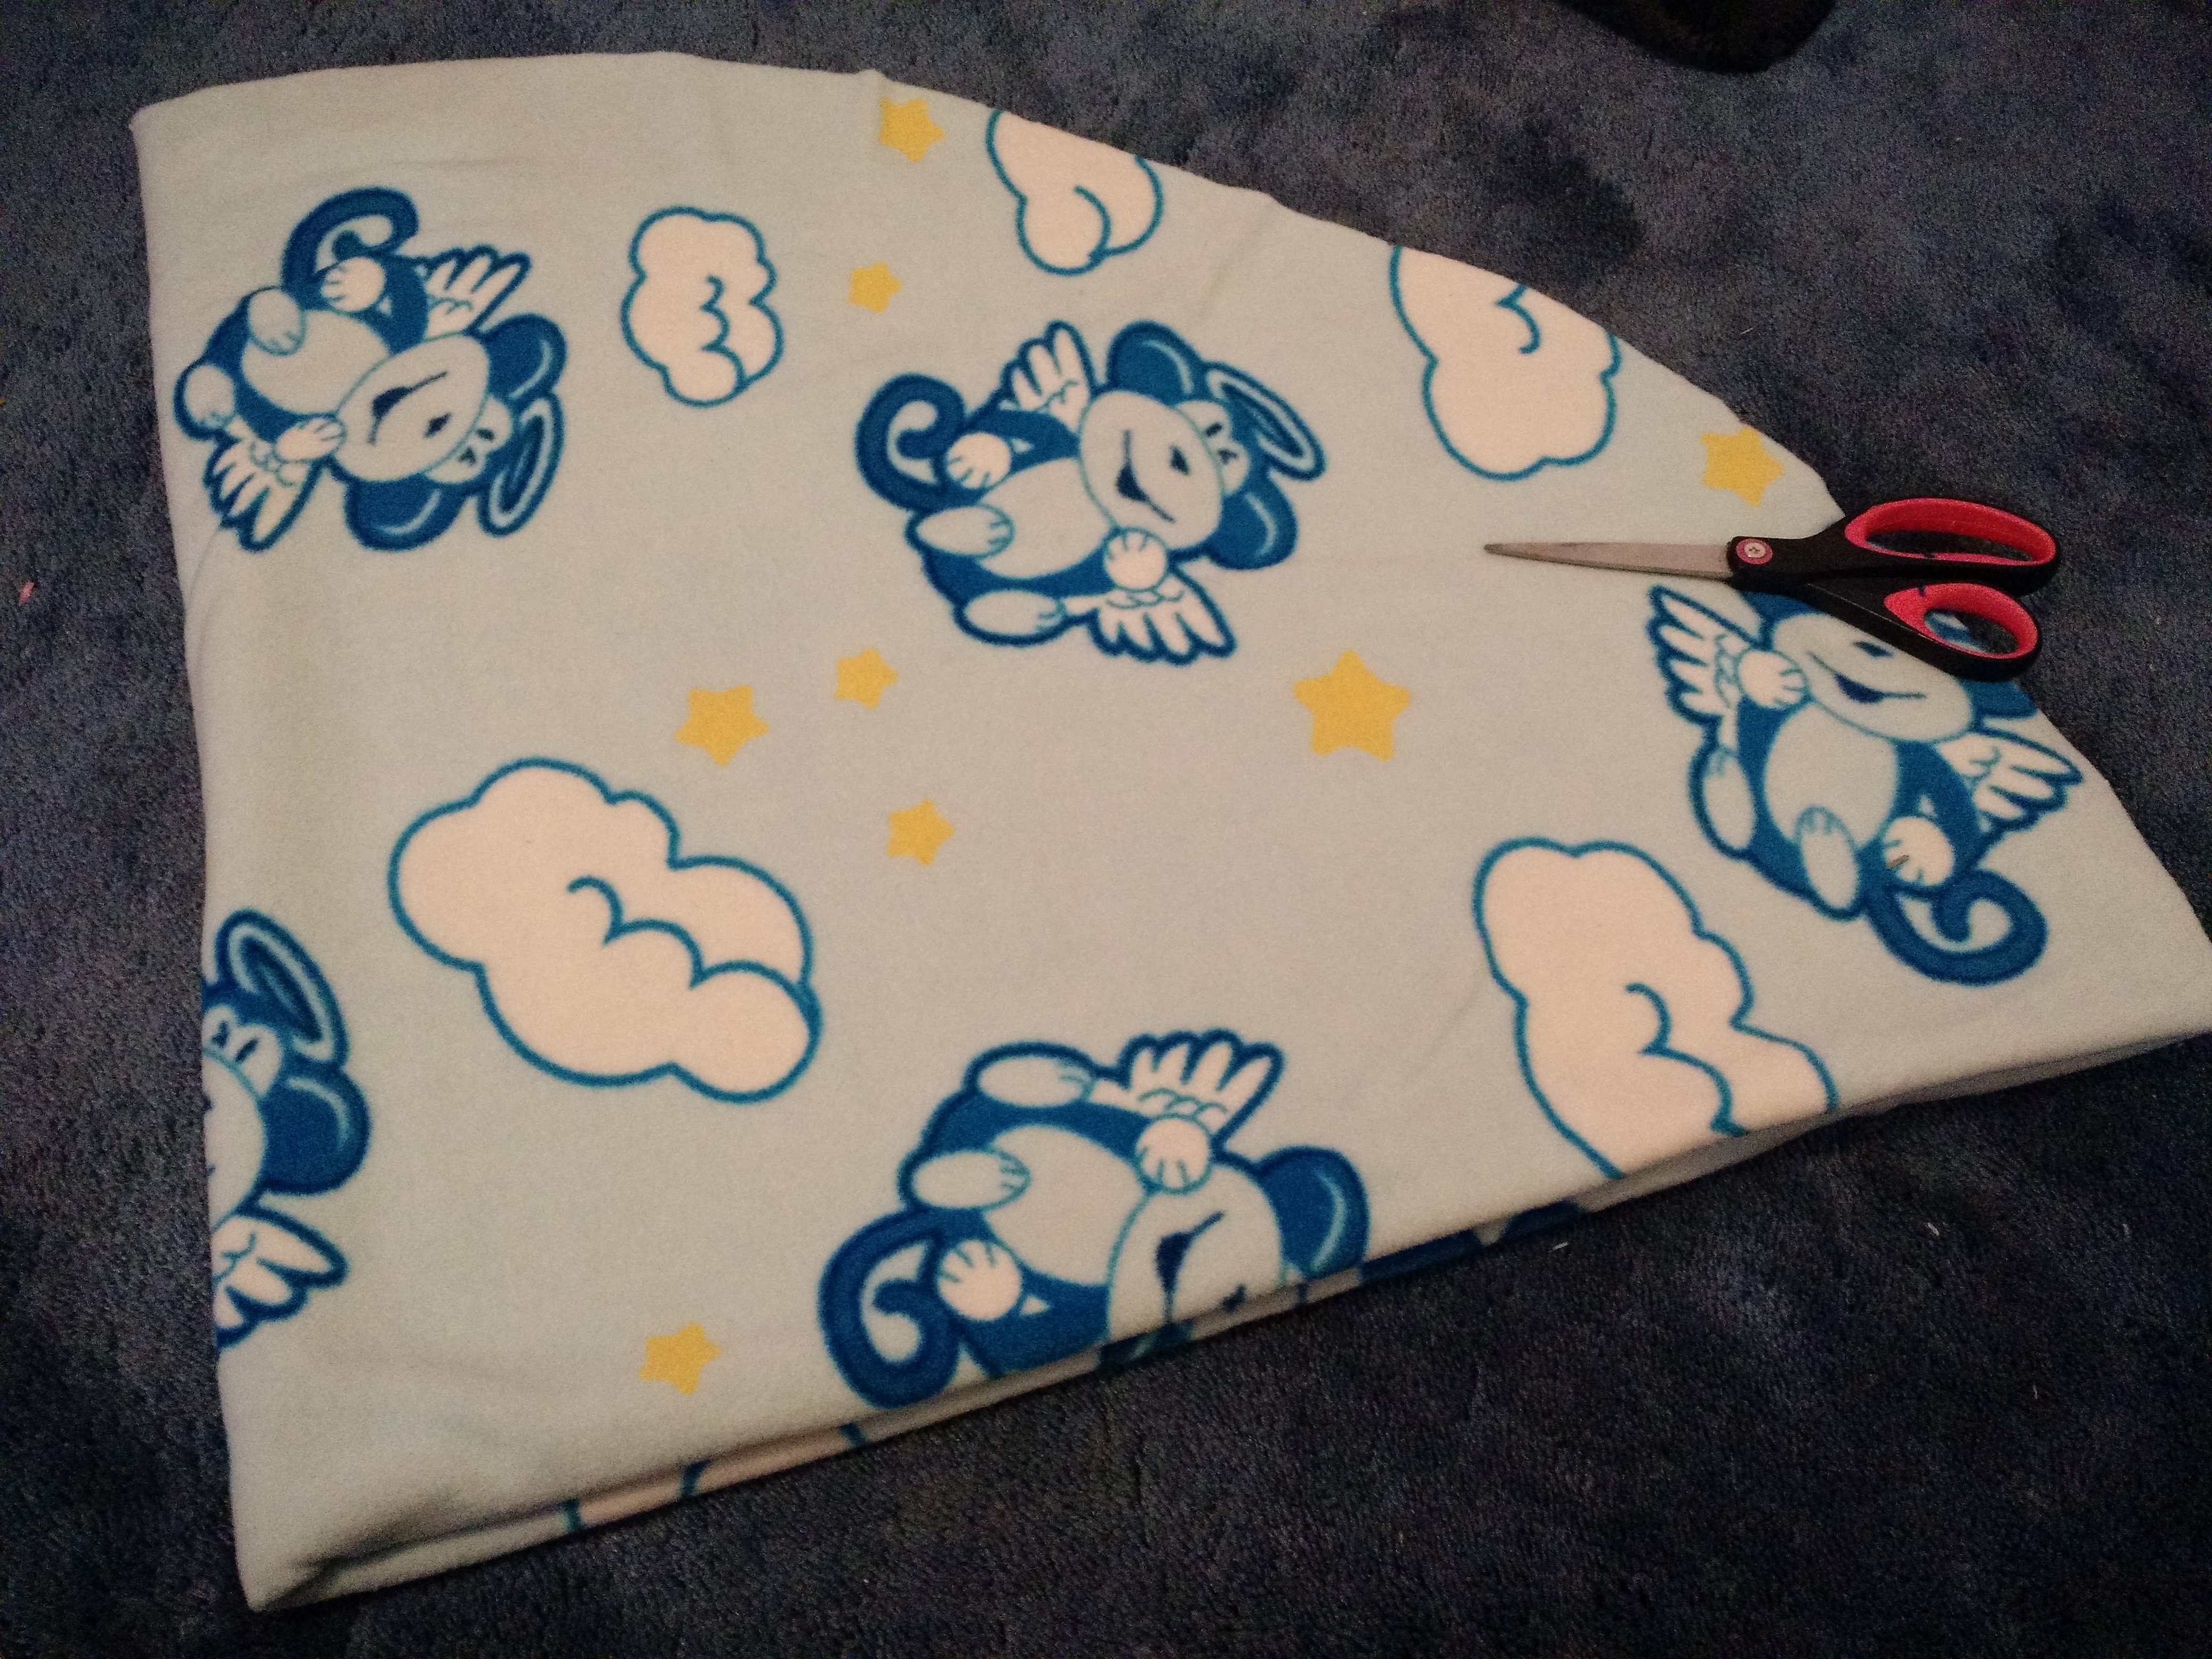
Next, you will measure your head hole. Remember that fabric is stretchy, and it's a lot easier to make a hole bigger than to make it small again ;). I used a CD as a guide, and cut along the edge like shown below.
Do these steps on both pieces of fabric. You should know have two donuts of fleece! Set them aside, for now, as we make the hood!

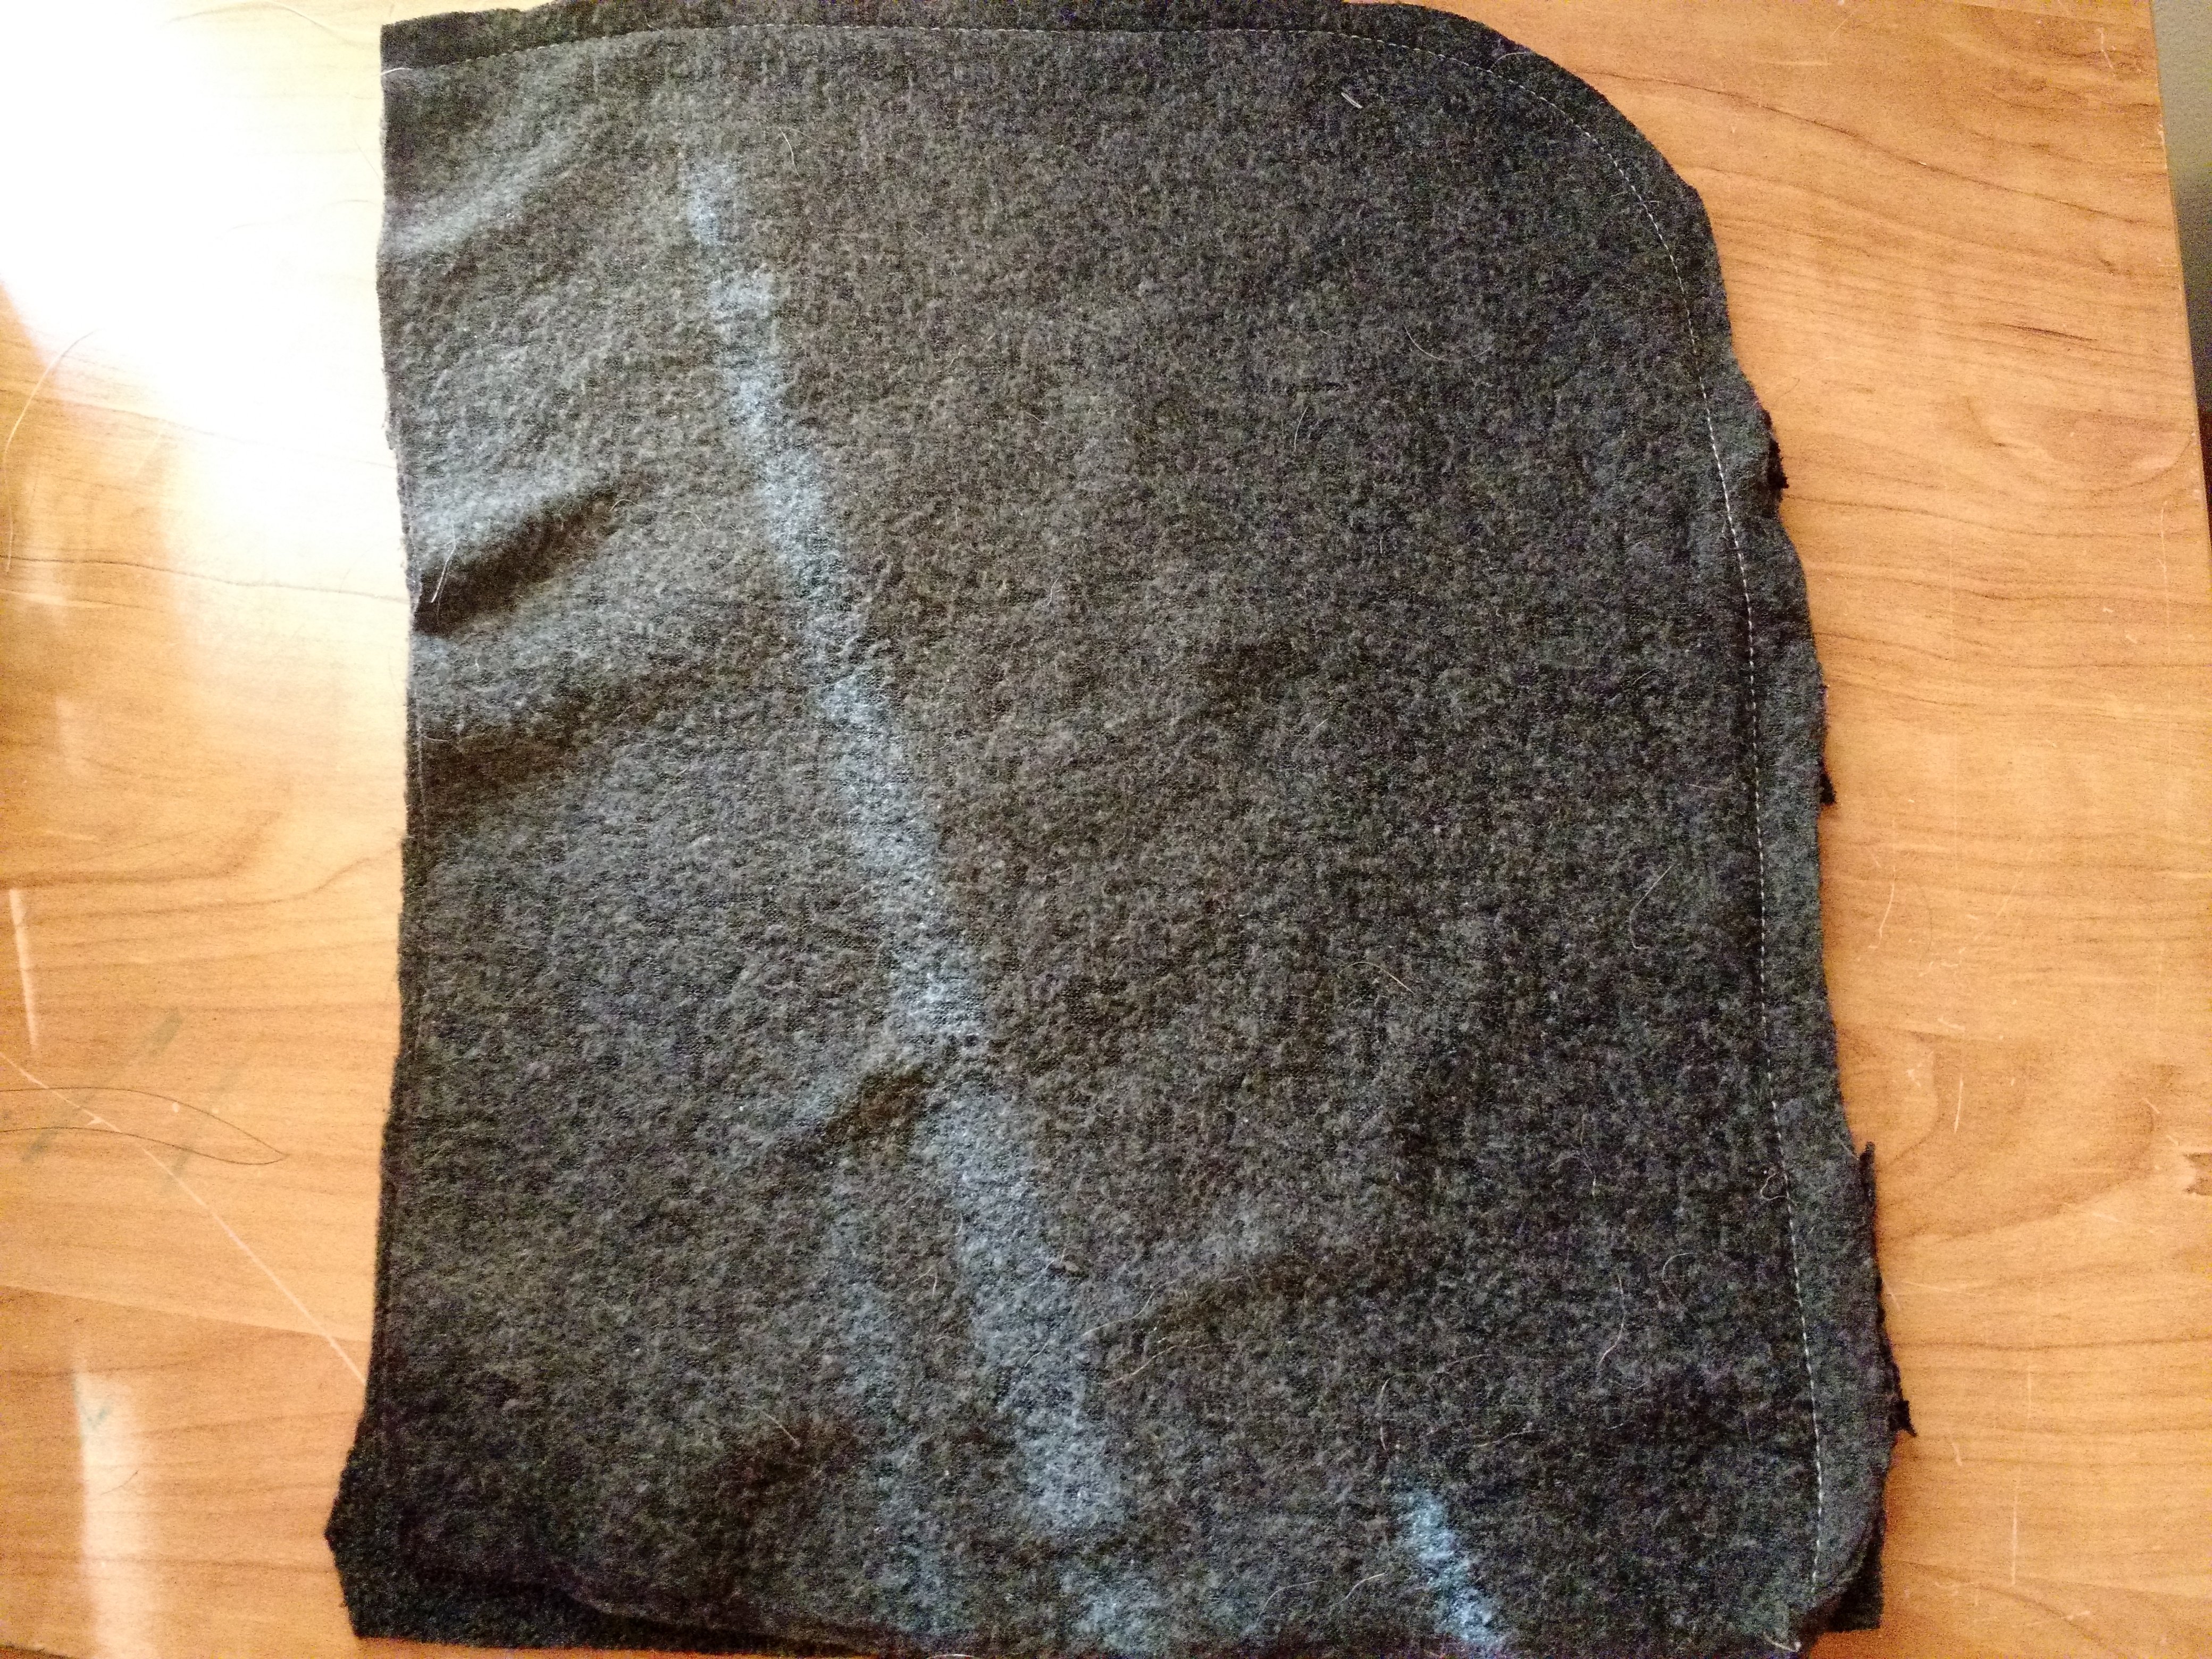
For this, I used a sweatshirt with a hood that we already head, and cut my fleece in the shape of the hood (add about a half inch on each border).
Then sew along the curved edge. Do this on both pieces of fleece.
Now you are going to keep 1 with rough edges on the outside (gray). Flip hood 2 (blue) so the nice edge is on the outside.. Line number 2 inside number 1 (nice sides should be touching.)
Now you will sew again. This time only sew the part of the hood that would be near your child's face. sew up to the seem, and back down to the other side. Leave the bottom of the hood UN-sewn.
Flip it right side out, and sew alone the same edge that you were just working on, but about a 1/4 of an inch in. (See below) this helps hold the fleece in place.

Now things get a little tricky. I went the easier route, which adds a few extra steps, but it saves a lot of time because I mess it up if I do it any other way!
So now you should have a nice finished looking hood (minus the bottom which gets hidden) and two donuts of fleece.
Flip your hood so side 2 (blue) is showing, and take the matching donut fleece. Place the hood through the center and align the rough edges. 
Sew across.
Now you should have a finished looking patterned hood and fleece, but if you flip it inside out, a finished looking hood and no matching fleece.
For the next step, you want the gray hood facing out (patterned fleece will be inside out).
Place gray donut (right side out) over the hood, but then you are going to want to flip it back up and pin the rough edges together. Once you do this, you can double check by flipping it back that you did it correctly. When you are sure, go ahead and sew this across. You can make a full circle of stitches.

When this is completed, you should have a no seems showing when the poncho is hanging correctly. The hood should match the rest of the fabric, and you should be able to flip it around to the reverse side as well.
Before sewing around the bottom, make sure it fits over your child's head. I like to make it a bit smaller, and then adjust it in this step. If it fits skip to sewing the bottom, if it doesn't fit see the next picture:
Cut a small slit (about an 1-1.5"). Flip the fabric inside out one last time, fold over and sew around the triangle cut out. Flip back right-side out.
Sew about an inch in, along the edge of the poncho. (you will be able to see these stitches, so pick a color that is hidden or pops, depending on your style!)
Now take some scissors and cut small slits up to the stitch.
And now you have a wonderful poncho, to keep the kids warm and safe getting into and out of the car!
The back of the poncho can flip right over the carseat, so you can safely buckle your child in, and the front goes right over the straps so they are nice and snug and warm!

![]()